Welcome to my Lotus 7 Replica Blog

I intend to use this blog to show the various stages as I rebuild an old Lotus 7 replica from a bit of a mess to something respectable.


Along the way i'll detail the procedures required and hopefully inspire others to do similar.


Photobucket


Friday, March 7, 2008

Assembled with bodywork

All bodywork back on.
Starting to look a lot better now!
Still need to sort the window, bonnet etc.
 
 
New grill laser cut from 4mm aluminium to my design. SDL in Hamilton are the best for this type of work. Cost me $60 all up.  I drew it in Autocad and supplied them the file. 

Thursday, March 6, 2008

Polished alloy

Spent the day polishing the alloy while the bodywork was drying.
I use Mothers metal polish which in my opinion is the best, you rub it on and rub it off before it dries for best results.  I will end up painting the aluminium at some stage anyway but just trying to get it all tidy before then!


Wednesday, March 5, 2008

New bodywork

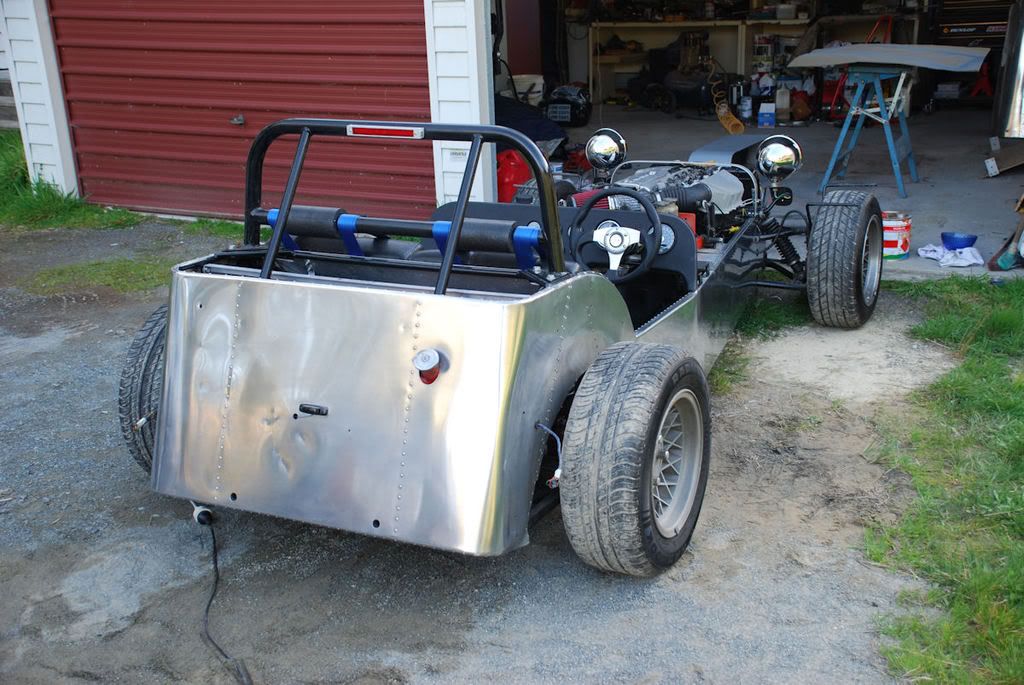
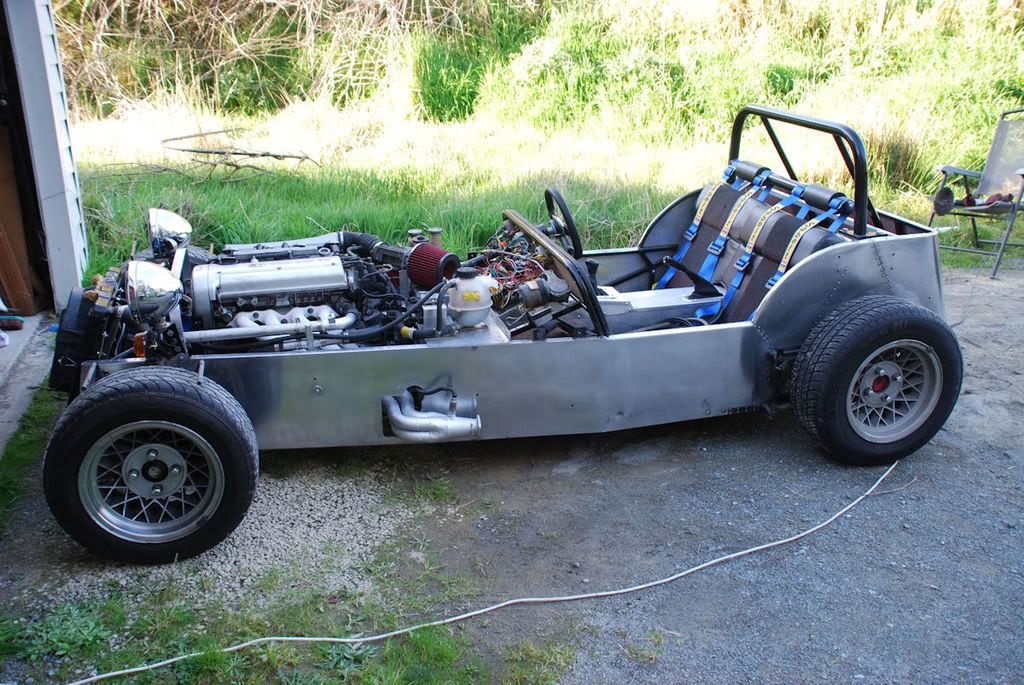
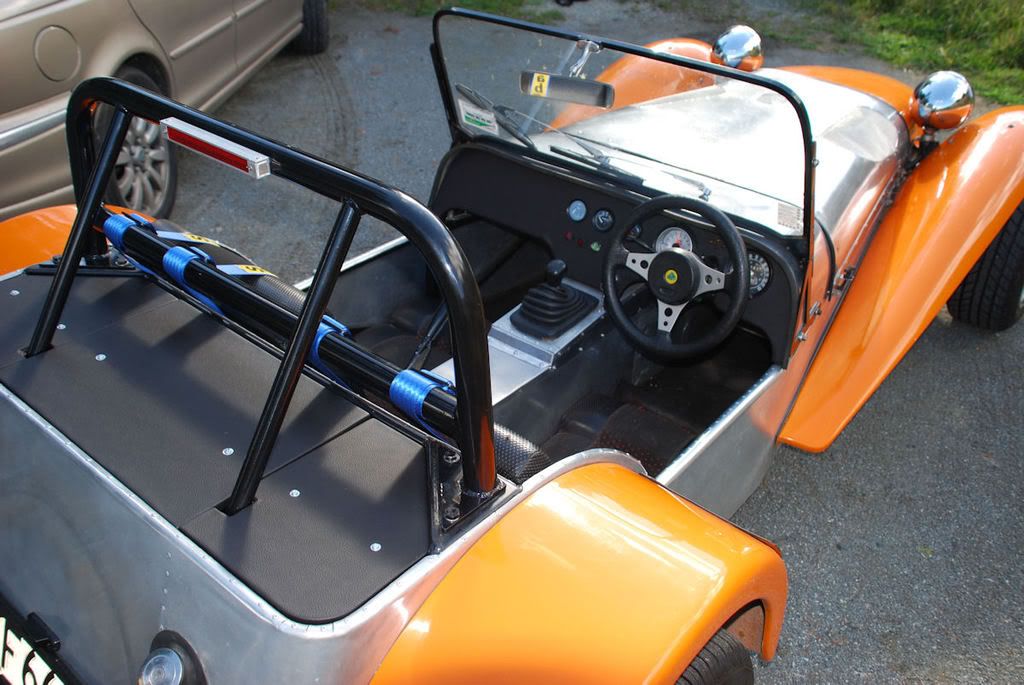
The existing bodywork is pretty badly finished and obviously doesn't cover the front wheels which is a fail for compliance. Also thge nose cone doesn't/won't cover the engine properly.
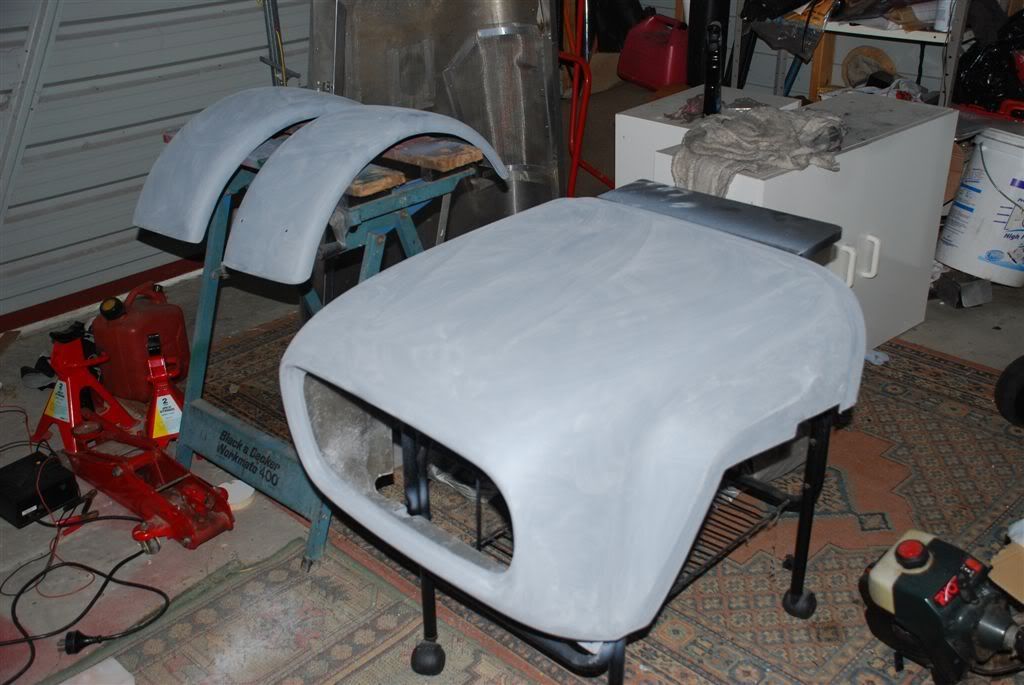
Nose and Front guards were bought from Almac cars in Wellington, A good price and good people to deal with!
 
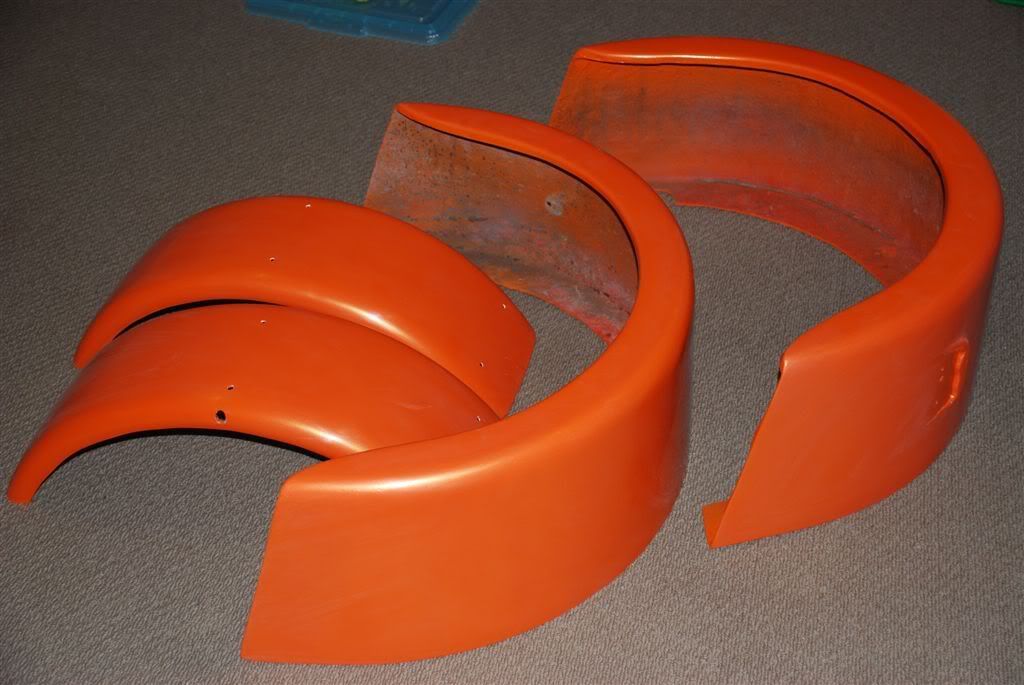
Primed and ready to shoot the colour 
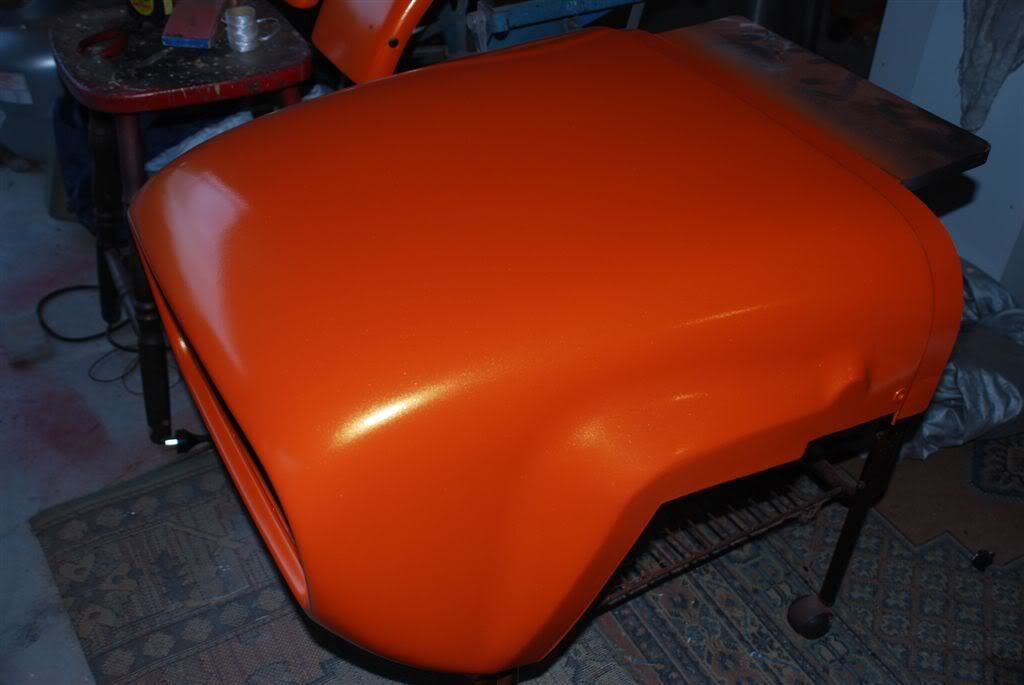
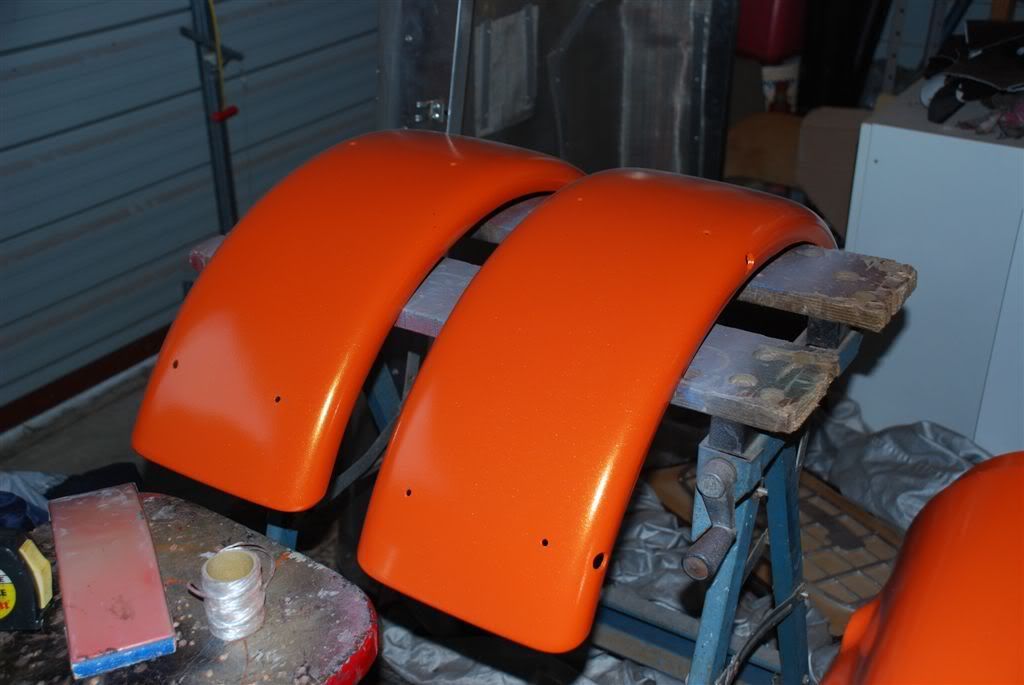
 Colour shot, awaiting clear.  Colour is a bright orange, with 3 coats pearl over followed by 6 coats of clear.
 
Front guards, all drilled and painted.
 
All the guards ready for reinstall. 
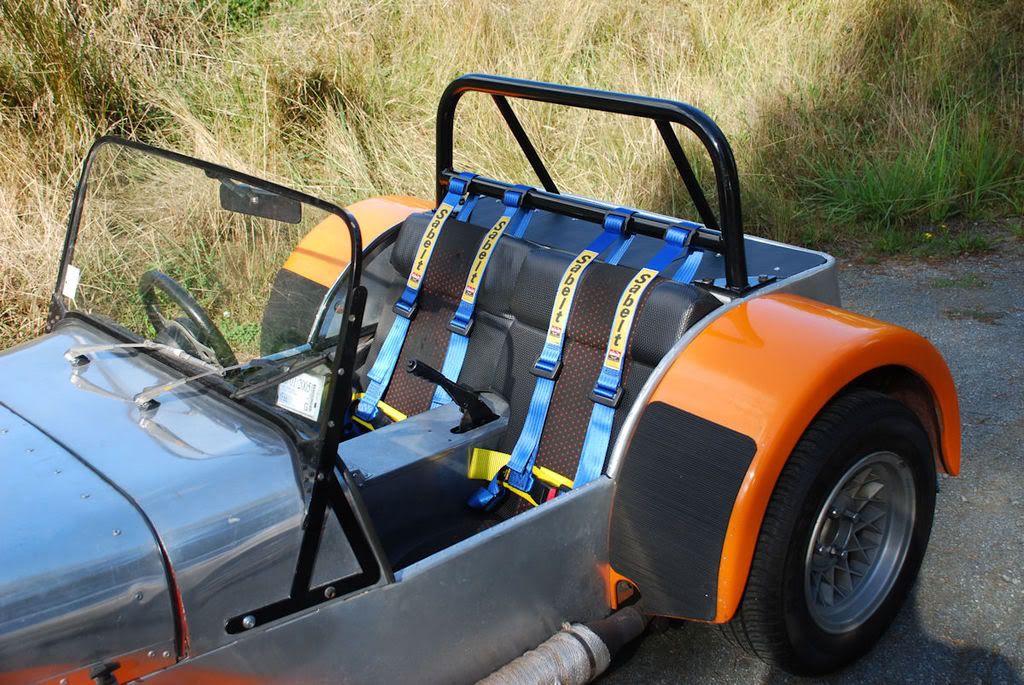
The painting came out really good, I've done quite a lot of painting on motorbikes etc but this was the first car i've done. Although in many respects its not much bigger than a motorbike.  I will be painting the aluminium at a later date. 

Sunday, March 2, 2008

Rollbar mods and Harnesses

Decided to run harnesses but needed pickup points put in. The easiest way was to get a new bar welded in just up from the bolt plates. This enables the harnesses to be strapped over the bar.
A guy at my work welded the bar in, being careful to avoid the bolt points being pulled in to far by the heat.
Also redid the front light brackets so they fit nicer and reduced in size.
Had the rollbar and light brackets powdercoated at a local supplier for beer :)
New Blue Sabelt clubman 4 point harnesses installed.

New Rear Brake Light

I decided to remove the abomination of a high brake stop light and replace it with something a little smaller.
I bought some high intensity LED strips from Jaycar and used part of the existing lens to keep within the laws.
Aluminium angle and flat was then used to make the housing before being rivetted on to the roll bar.
It could really do with being powdercoated black, but may just end up spray painting it.