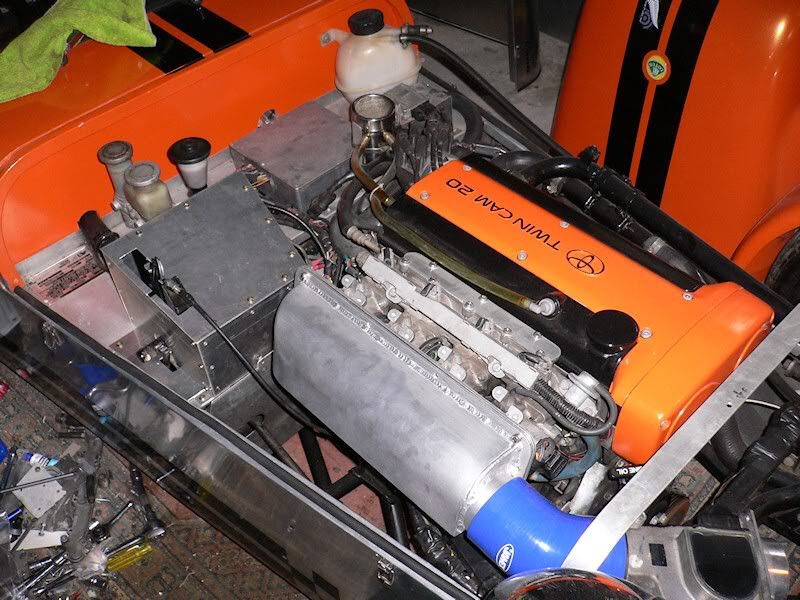
Thought I had better post an intake pic.
You can see the two intake pipes each side of the radiator, here they get nice fresh air from the front of the car.
Eventually when I replace the rad with a lower one, the intake will get air from above the radiator.
Does the job for now though!
Welcome to my Lotus 7 Replica Blog
I intend to use this blog to show the various stages as I rebuild an old Lotus 7 replica from a bit of a mess to something respectable.
Along the way i'll detail the procedures required and hopefully inspire others to do similar.

Along the way i'll detail the procedures required and hopefully inspire others to do similar.

Monday, December 21, 2009
Sunday, December 20, 2009
Steering Rack installed
Installed the rebuilt rack, made a tool to do a wheel alignment, set to 3mm Toe out for awesome turn in.
Took the 7 out for a drive and what a difference, lots more feedback, self centers perfectly.
A job worth doing thats for sure.
Took the 7 out for a drive and what a difference, lots more feedback, self centers perfectly.
A job worth doing thats for sure.
Wednesday, December 16, 2009
Steering Rack Rebuild
Checked my Steering rack as it got noted during a wof that there was a little play!
Turned out the rack ends were worn and the main tube had quite a bit of slop.
Upon removal from the car it became apparent that the threaded rods on the rack ends had been badly made.
The thread was made on a tapered rod so that as the rod tapered off the threads got finer!
I was told by the friendly crew at Autosteer in Frankton that this is quite dangerous and you could actually see that only around 10mm of thread was actually being used.
New bushes to the tube, new rack ends custom machined to length/diameter and she's good as new!
Although I could have done without the $220!
While I am at it, I lubed the steering column as it has always been quite hard to turn. Hopefully this will help with self centreing, something my car never really had. If this doesn't fix it, then I will have to reset the caster to suit!
Wednesday, December 2, 2009
Cold Air Box
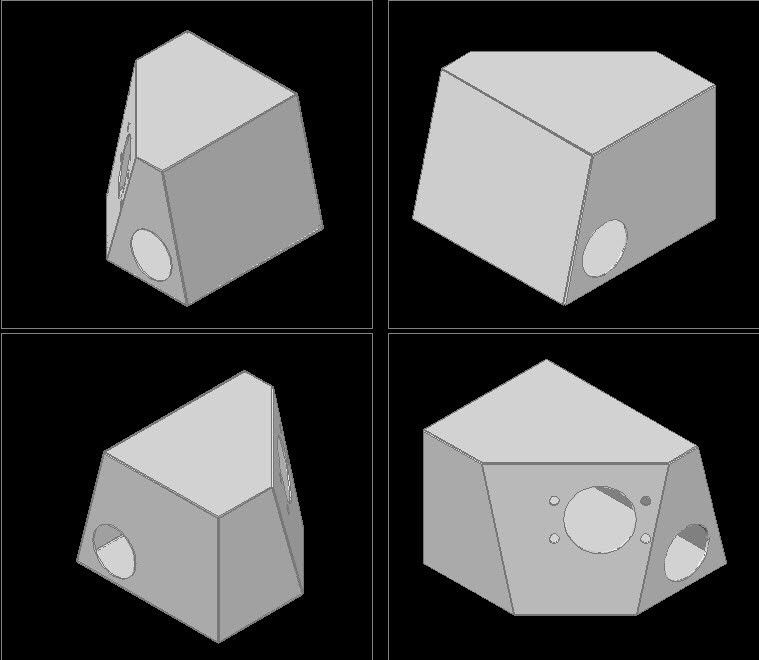
Now my intake is complete, I have been working on a Cold air box which is to be fitted at the front of the car just behind the radiator and will take cold air from around the sides via ducting that gets cold air from the nose.
See image below for the basic outline.
I'll post some pics of the finished article shortly.
See image below for the basic outline.
I'll post some pics of the finished article shortly.
Monday, November 16, 2009
Pedal box cover
I decided to build a cover for my pedal box from 1.6mm aluminium.
It was a little difficult and I had to have the throttle cable point sticking up out of it due to clearance issues, but it now cleans up the whole engine bay.
The finish will match my intake, a nice dull polished look.
It was a little difficult and I had to have the throttle cable point sticking up out of it due to clearance issues, but it now cleans up the whole engine bay.
The finish will match my intake, a nice dull polished look.
New intake
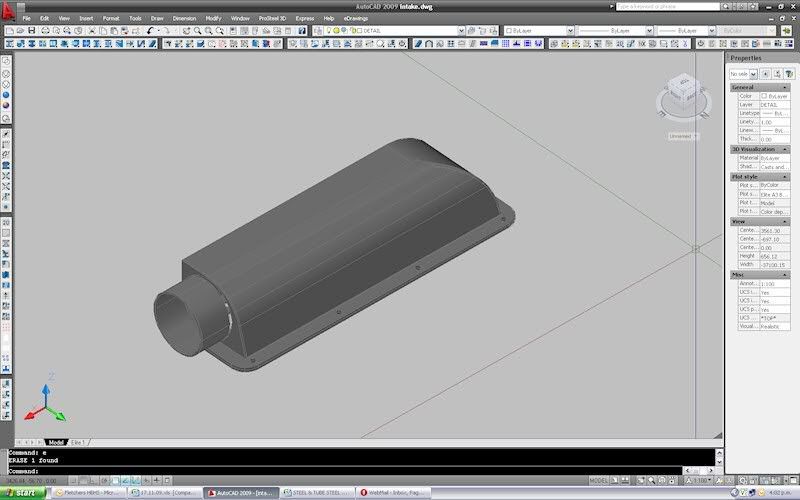
I originally made a MS intake plenum, but after closer inspection I decided to redesign it out of aluminium.
It is now a lot lighter and a lot better looking, with better airflow to the rear cylinders.
It still needs plumbing in, and now I can start on the new airbox which will sit behind the radiatior but will get fresh air from over the top. Radiator will be changed for an aluminium one when I can afford it :)
Wednesday, September 30, 2009
New Guards
While i'm on Cad i thought i would model up some new guards.
I'm looking at doing something similar to the Caterham CSR with the small semi-wing part on top.
I'll make them from MDF for the plug, with the final guard being from Carbon Fibre.
Should make the car look real good :)
While i've got the carbon out I will do some rear guard protectors too.
I'm looking at doing something similar to the Caterham CSR with the small semi-wing part on top.
I'll make them from MDF for the plug, with the final guard being from Carbon Fibre.
Should make the car look real good :)
While i've got the carbon out I will do some rear guard protectors too.
Making a new intake Plenum
Just modelled a new intake plenum in Autocad.
Getting it made at work from mild steel plate, and tig welded up.
Will end up getting it powder-coated in black at some stage.
I will be moving the Airflow meter to the front of the car for greater efficiency and will possibly duct cold air around the radiator to a small airbox in front of the motor.
It gives me the opportunity to add a supercharger at a later date
Wednesday, June 10, 2009
Painted Headers
Decided to tidy the white painted headers up with a lick of high temp silver. Difficult to get into all the nooks but a worthwhile improvements.
Looks a lot nicer.
Looks a lot nicer.
Sunday, May 31, 2009
Wheels on
Finally got around to fitting the tyres onto the wheels.
A little filing was required to get them to fit well on the hubs.
Minilights are the only wheels worth fitting to a 7 especially in 13" size.
A big improvement over the old Hotwires!
A little filing was required to get them to fit well on the hubs.
Minilights are the only wheels worth fitting to a 7 especially in 13" size.
A big improvement over the old Hotwires!
Sunday, May 24, 2009
New centre console
I decided to tidy up the centre console as it looked quite terrible being a bit of a hash up of old aluminium and the terrible gaiter around the gear stick!
I got some stainless steel rings laser cut through work and some aluminium folded up by my friend Brett.
I used Steel Tek screws to fasten it all down, looks good in aluminium but will cover it in black vinyl at some stage once I get the seats retrimmed or replaced.....
I got some stainless steel rings laser cut through work and some aluminium folded up by my friend Brett.
I used Steel Tek screws to fasten it all down, looks good in aluminium but will cover it in black vinyl at some stage once I get the seats retrimmed or replaced.....
Monday, May 11, 2009
Powdercoated Wheels
Had the wheels powdercoated a dark grey.
Managed to get them done for a box of beers due to a big job at work also being done at the same time.
They've come up well and you can't even spot the where the damage was!
Just have to get the tyres swapped over and put them on the car now!
Might have to make up some nice centre caps so I can put a logo on them!
Sunday, April 19, 2009
New Wheels
Picked up some cheap 13" Minilights off Trademe for $200.
13x6" front, 13x7" rears, 4x110 although you can make them fit a 108 no problem (a little bit of filing).
Perfect size and type, only problem was one of them was broken.
Aeromachinists in Te Rapa, Hamilton came to the rescue fixing it up for $100.
All I have to do now is get them powdercoated.
13x6" front, 13x7" rears, 4x110 although you can make them fit a 108 no problem (a little bit of filing).
Perfect size and type, only problem was one of them was broken.
Aeromachinists in Te Rapa, Hamilton came to the rescue fixing it up for $100.
All I have to do now is get them powdercoated.
Wednesday, February 4, 2009
Exhaust Cover, Guard Protectors
Decided to get an exhaust cover rolled up by the same friend who did my bonnet.
Looks a lot better than just a bare pipe, but will still replace the whole system with a Stainless muffler.
Also made some aluminium stone protectors for the back arches.
Looks a lot better than just a bare pipe, but will still replace the whole system with a Stainless muffler.
Also made some aluminium stone protectors for the back arches.
Thursday, January 22, 2009
New Rings
Decided to put new rings in the 20v.
Quite easy to do really, drop the sump, loosen the rod bolts, take the head off and remove piston/rod.
Remove old rings, clean ring gaps, install new rings and reinstall.
On 20v's they have a tendency for the oil control rings to gunge up, this causes massive oil blow by and is a real pain. I think it gets worse with infrequent use too.
Rings solved my problem! No more smoking!
Monday, January 12, 2009
New Shocks
Ordered a complete set of GAZ Coilovers due to the old Spax being completely shot and the rear end soggy as!
Cost approx. $1200 NZD delivered from the UK.
Dampertech was very helpful to deal with and it seems my chosen springs seem to work well.
Fronts: 250lb, Rears: 200lb.
Shocks are set quite soft, but give it a lot better handling.
Cost approx. $1200 NZD delivered from the UK.
Dampertech was very helpful to deal with and it seems my chosen springs seem to work well.
Fronts: 250lb, Rears: 200lb.
Shocks are set quite soft, but give it a lot better handling.
Thursday, January 1, 2009
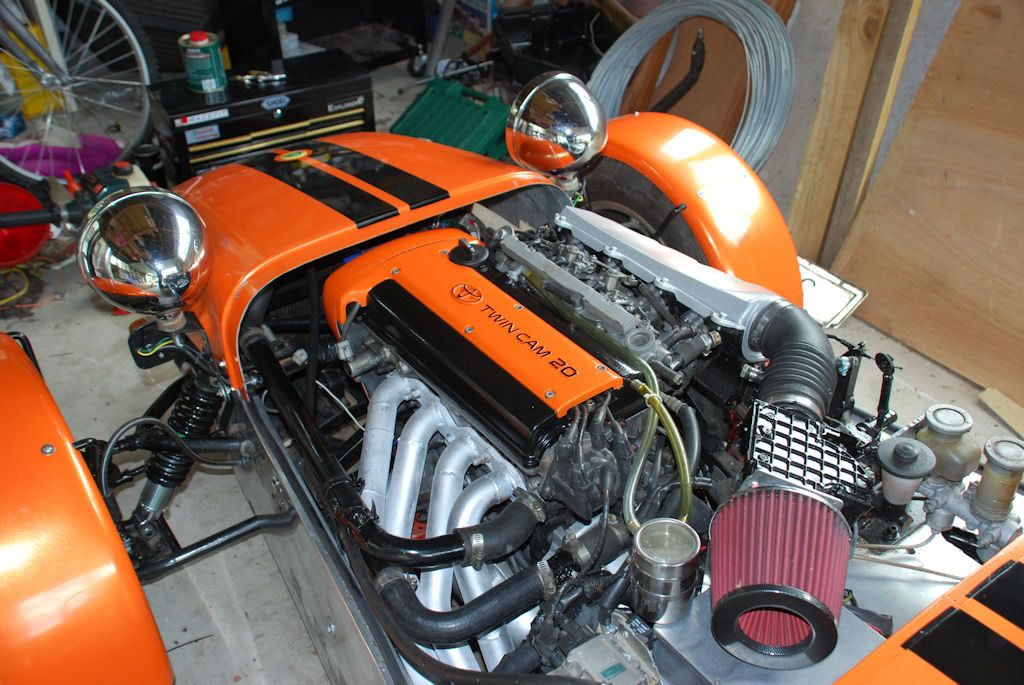
Engine Detailing
Decided to give the engine a paint to match the body, looks a lot better.
Used standard automotive paints and prepped/degreased well.
Just have to tidy up the headers now, as white looks a little Naff!
Used standard automotive paints and prepped/degreased well.
Just have to tidy up the headers now, as white looks a little Naff!
Subscribe to:
Posts (Atom)


